How to assemble smart stage?
time:2016-10-24 editor:R-grafen
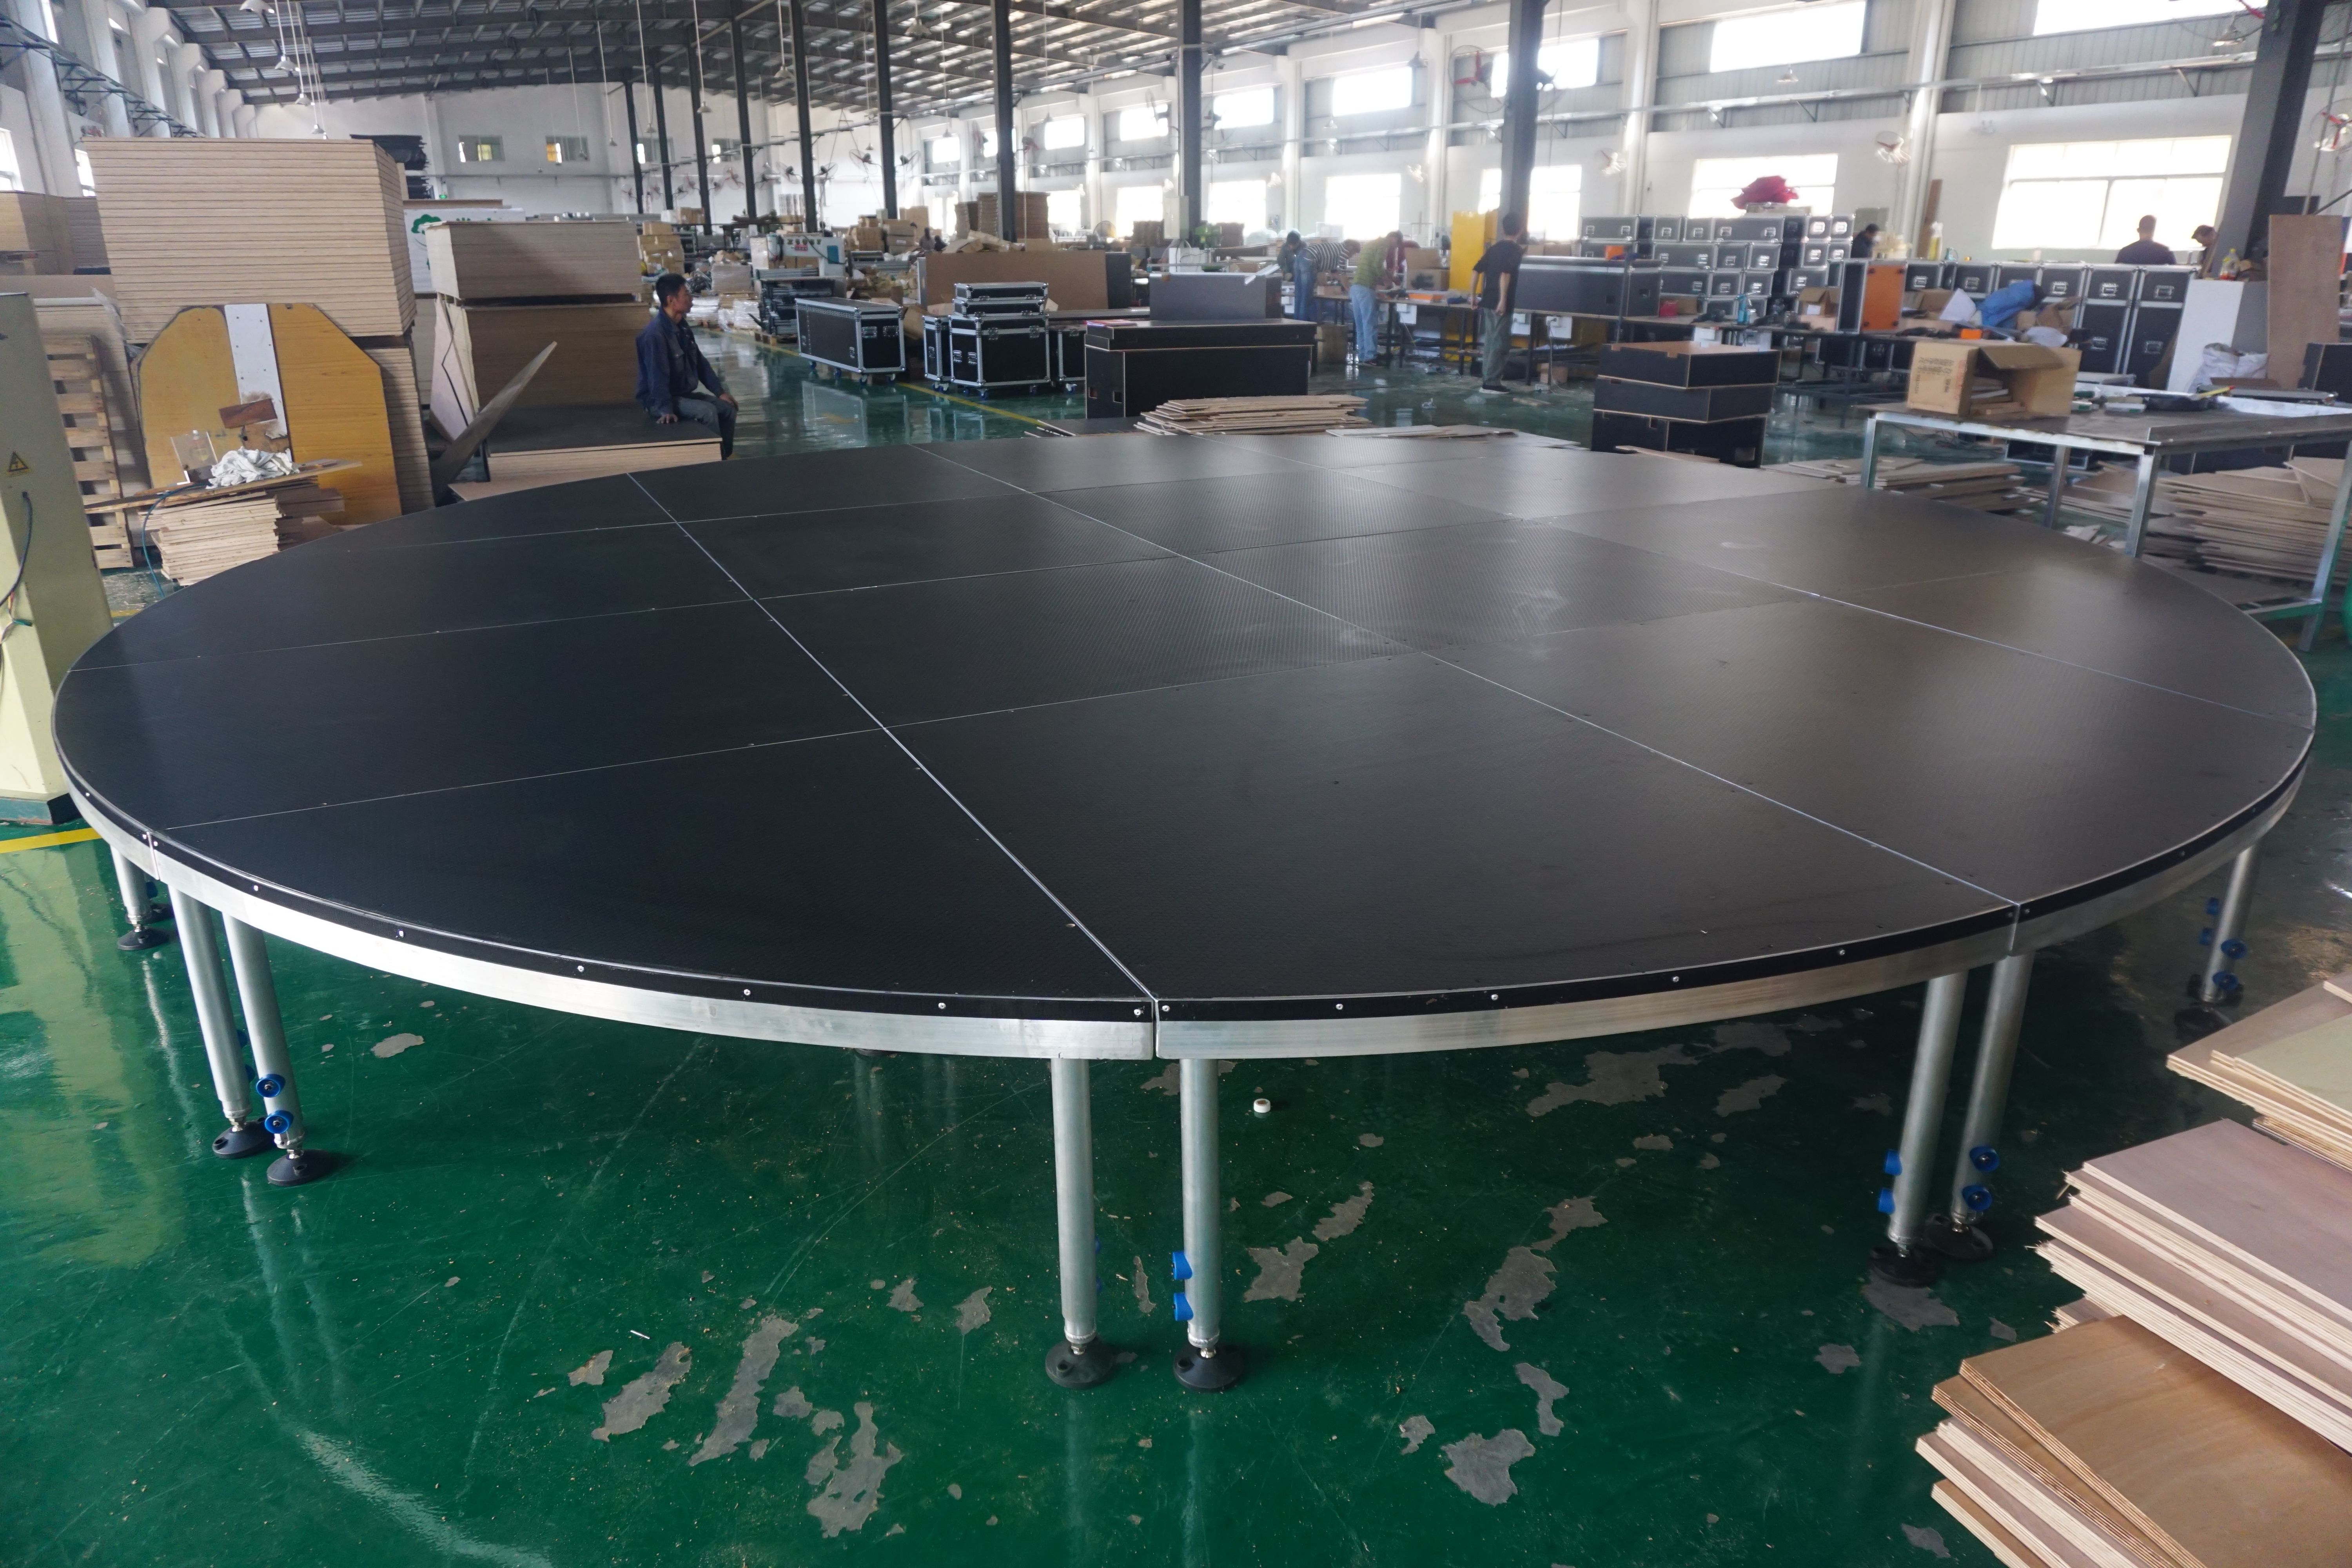
Step 1 : Unfold Smart Stage Riser Legs,and Place the Stage Platform On Riser Legs.

Step 2 : Remove the Enclosed Hex Key from the Smart Stage Platform and Lock the Stage Platform and Riser Together

Step 3 : Align Smart Stage Decks .

Step 4 : Lock Stage Platforms Together (same height).

Step 5 : User Riser Clamps to Lock Risers Of Different Heights (Same Heights also).

Step 6 : Stacking Riser Legs For Greater Heights Using Stacking Kits.

Step 7 : Slide Guard Rail over modular stage platforms with pre-drilled holes.

Step 8 : secure the guardrail with included bolt and hex key.

Step 9 : Secure the guardrails by bolting.


Step 2 : Remove the Enclosed Hex Key from the Smart Stage Platform and Lock the Stage Platform and Riser Together

Step 3 : Align Smart Stage Decks .

Step 4 : Lock Stage Platforms Together (same height).

Step 5 : User Riser Clamps to Lock Risers Of Different Heights (Same Heights also).

Step 6 : Stacking Riser Legs For Greater Heights Using Stacking Kits.

Step 7 : Slide Guard Rail over modular stage platforms with pre-drilled holes.

Step 8 : secure the guardrail with included bolt and hex key.

Step 9 : Secure the guardrails by bolting.


